Branching
Git branching allows teams to work on different versions of an app simultaneously. Flowable Design supports switching branches, creating new branches, and pushing branches to the remote repository, all from the Git panel.
Viewing the Current Branch
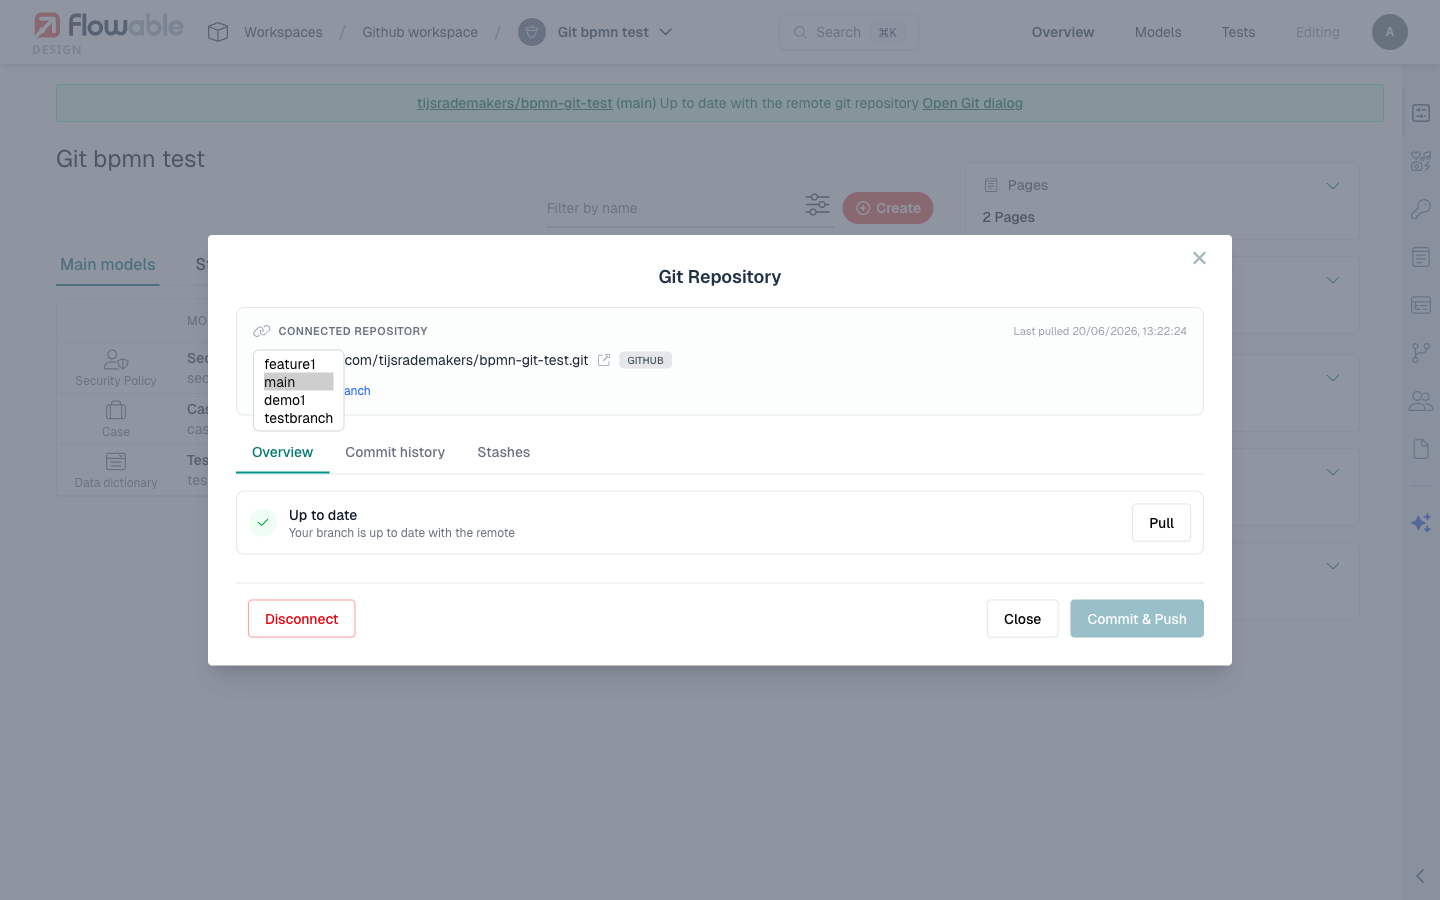
The Git panel displays the current branch name alongside the sync status. This is always visible when viewing a Git-connected app, so you can confirm which branch you're working on before making changes.
Switching Branches
To switch to a different branch:
- Open the Git panel on the app details page.
- Click the branch selector.
- Choose the target branch from the list of remote branches.
- Confirm the switch.
When you switch branches, Design replaces the local app content with the models from the target branch. All models are reimported from the branch's committed state.
 caution
If you have uncommitted local changes when switching branches, those changes will be lost. Either commit your changes first, or use stash to save them temporarily before switching.
Creating a New Branch
To create a new branch:
- Open the Git panel on the app details page.
- Click Create Branch.
- Enter a branch name for the new branch.
- The branch will be created from the current branch head and pushed to the remote repository.
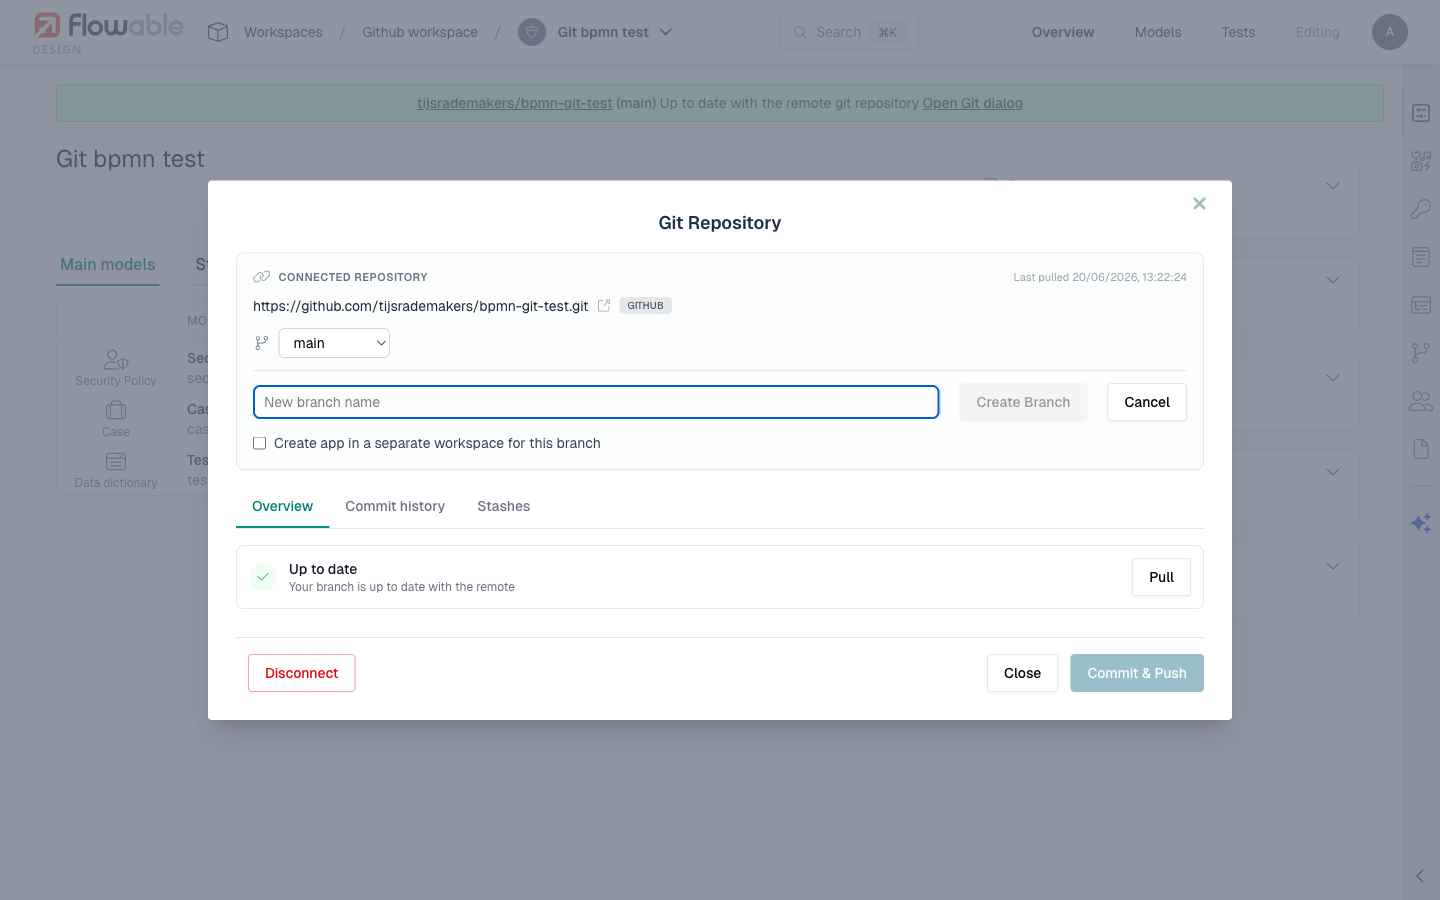
After creating the branch, you are automatically switched to it and can start making changes.
Branch to Workspace
Design also supports creating a branch that is linked to a new workspace. This is useful for isolating work on a feature branch:
- From the Git panel, choose Branch to Workspace.
- A new workspace is created with a copy of the app connected to the new branch.
- Work independently in the new workspace without affecting the original branch.
This allows multiple team members to work on separate branches in separate workspaces without interfering with each other.
When working this way, you may want to keep the workspace key out of committed content so that an app is not reported as modified simply because it lives in a different workspace. See Workspace Key and Change Detection for details.
Branch Workflows
Feature Branch Workflow
A common pattern for teams:
- Start on the
mainbranch with the latest stable version of the app. - Create a feature branch (e.g.,
feature/new-approval-process). - Make changes on the feature branch, committing along the way to keep your work on the remote.
- When the feature is ready, create a pull request to merge back into
main. Note that Design builds the pull request from your uncommitted local changes, so raise it from Design before committing your final round of changes — or, if everything is already committed and pushed, open the pull request in your Git provider. - After the pull request is reviewed and merged, switch back to
mainand pull the merged changes.
Trunk-Based Development
For smaller teams or simpler apps:
- Everyone works directly on
main. - Commit changes frequently with descriptive messages.
- Pull regularly to stay in sync with the team.
- Conflicts are rare because changes are integrated continuously.
Listing Branches
The branch selector shows all remote branches available for the repository. The list is fetched from the remote, so new branches created by other team members or through the Git hosting platform will appear after a refresh.